

The Personal Blimp
|
|||||||||||||||||||
|
HOME
|
A Typical Morning of Flying
|
||||||||||||||||||
|
We have been flying Alberto on a regular basis for the past year. During that period, we've accumulated 50+ hours of flight time.
Since we are still on the steep part of the learing curve, every flight is a test flight. And although we are always trying something new, each of these experiments is a "baby step." As a result, the photos of all of our flights tend to look very much alike. So, there isn't much point in posting photos from every single flight. However, as an example, you can click here to see all of the photos from a typical morning of flying taken by our friend and crew member Bob Cann. |

| Alberto appears amongst the photos taken at this year's XLTA event. |


| We have both a (2.3 MB) hi-res movie or a (350 KB) low-res movie of the first 360 turn executed by the airship Alberto. (If you have trouble playing the video, please try the copy at YouTube.) The turn takes just about 1 minute from beginning to end. The ship is hovering in a slight breeze (estimated at 2 to 3 knots) when the turn begins. The ship travels downwind (from left to right) as it is carried by the breeze during the turn. |
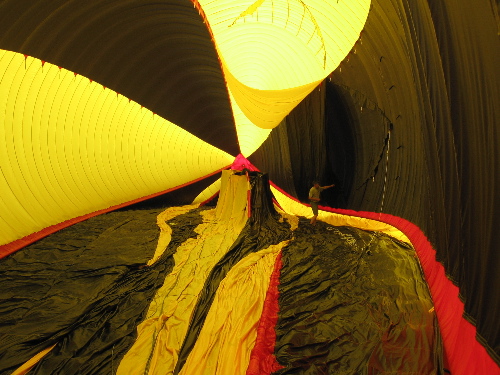
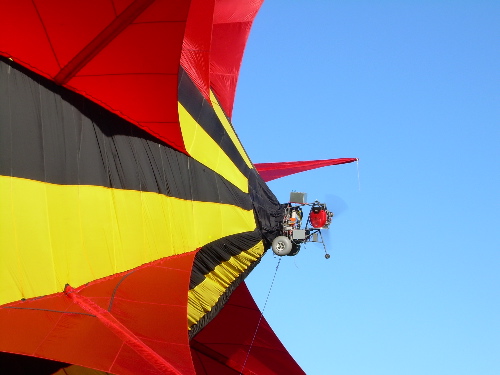
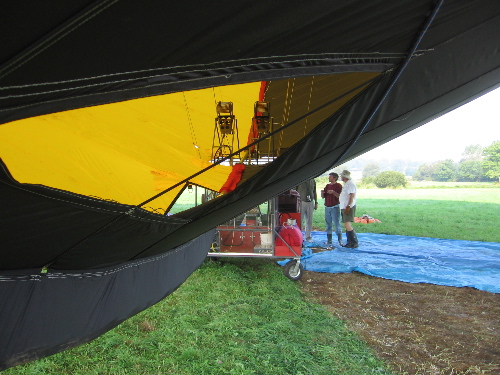

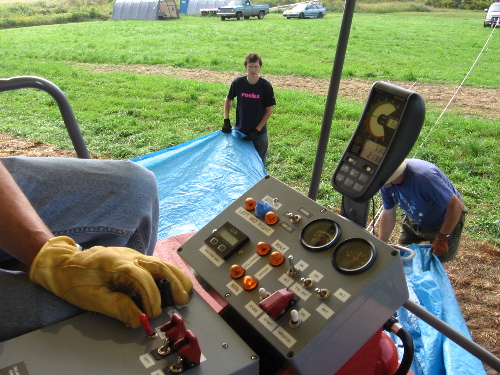
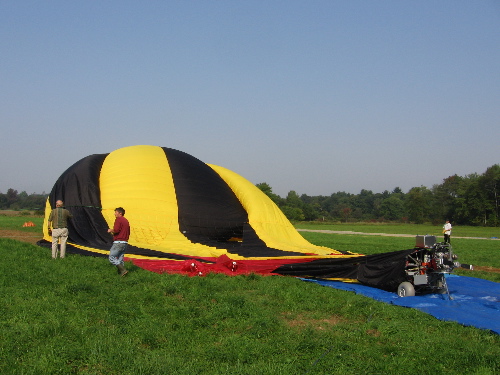
|
Unlike a conventional helium-based airship, the Personal Blimp is deflated and covered when on the ground. So it doesn't require a hangar, leak helium, or otherwise "bleed cash" between flights.
Below is a series of pictures that outlines the inflation process. |
|
|
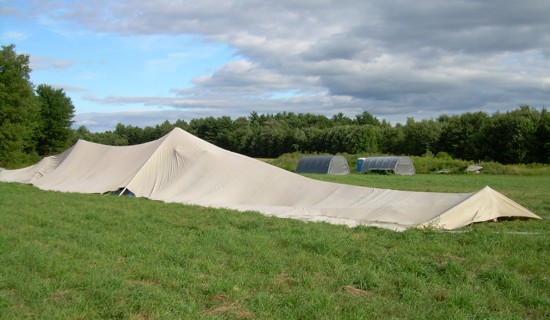
| Between flights the airship is usually stored assembled, but deflated, in the field. It is protected from the elements by a ground tarp and a (rather large) tent. |
|
|
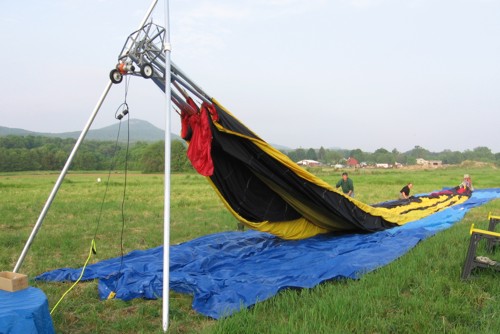
| After removing the the storage tent, the first step is to lift the nose of the ship using a built-in electric winch and A-frame nose gear. The aluminum ribs that are the key to the design's unique structure can be seen extending beyond the end of the fabric on the nose. |
|
|
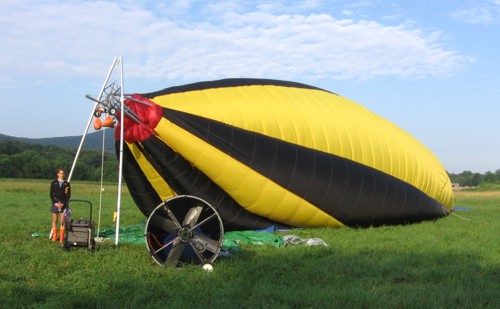
| As with a conventional hot air balloon, inflation begins with blowing cold air into the envelope using a ground-based fan. The red fabric on the nose of the ship is a baffle that seals the nose to prevent the air inside from escaping. There is a comparable baffle on the tail of the ship as well. The baffles are covered by an outer layer of fabric when inflation is complete. |
|
|
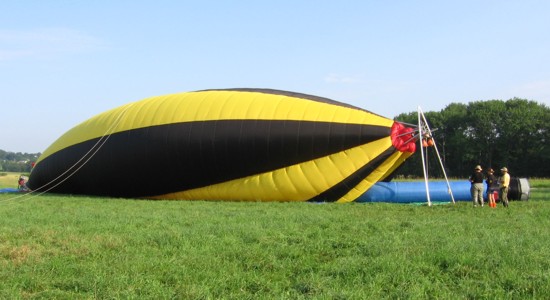
| Here is another view of the cold air portion of the inflation. A duct (blue colored tube) that carries the air from the fan into the bottom of the ship is visible on the right side of this photograph. The envelope is filled about half-way with cold air before the burners are fired up and the envelope is lifted off the ground. |
|
|
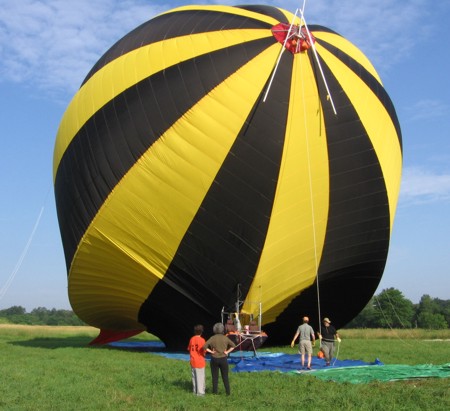
| When the heating starts, the nose of the ship lifts first as the tail is weighed down by the engine and prop assembly. |
|
|
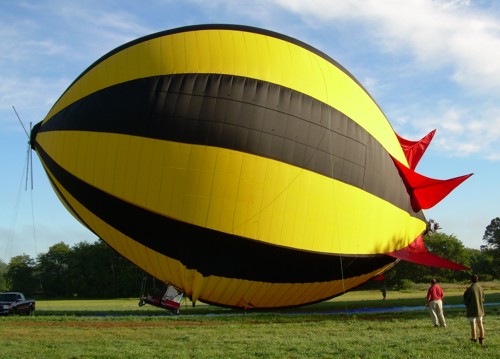
| Continuing to add heat then raises the tail. |
|
|
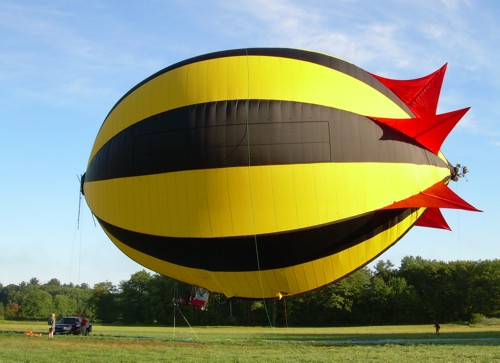
| And in fairly short order it's "Houston ... We have lift-off!" |

